Back when I planted my very first seasonal color bed, I made all the classic mistakes.
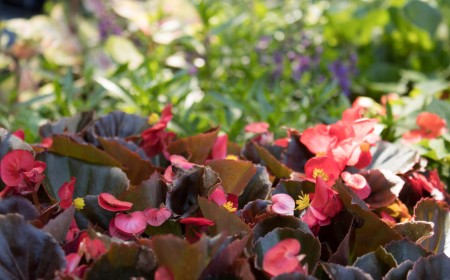
I planted too close together, skipped the soil prep, and had no idea why my blooms faded so quickly. Now? We treat seasonal color like an art form, and it starts from the ground up.
If you've been underwhelmed by your seasonal plantings in the past, it's probably not the flowers' fault. It all comes down to what happens before, during, and after the install.
Here’s our tried-and-true process and some tricks most pros won’t share.
Step 1: Clear the Canvas - Out with the old. Before anything new goes in, remove all spent annuals, weeds, and debris from your beds. This creates a clean foundation for success.
Step 2: Start Fresh From the Ground Up - Soil is everything. Add fresh, high-quality garden soil and a balanced, slow-release fertilizer. Your dirt should be soft enough to dig with your hands. If it’s not, amend it until it is.
Step 3: Design Before You Dig - Still in their plastic nursery pots, lay out your plants exactly where you want them to go. This lets you see spacing, adjust placement, and plan for color balance before you commit.
Step 4: Plant Like a Pro - When planting, leave about 1/2 inch of the nursery soil showing above grade. This makes room for mulch and prevents your plants from getting smothered.
Tricks of the Trade
Thriller, Filler, Spiller
Use this classic designer formula to build a dynamic bed:
- Thrillers add height and drama.
- Fillers bring volume and lushness.
- Spillers trail down walls, pots, or edges.
Know Where to Spill - Spillers are great for pots and retaining walls. But near lawns, driveways, or walkways? Skip them. You don’t want vines creeping into unwanted places.
Bed Curves? Start Straight - If you have a curved bed, start placing plants in the straightest section first. Then work outward to the curves. This keeps your spacing even.
Create Windows - Instead of planting in a grid, stagger your second row off your first. Think of it like creating "windows" between plants. This not only looks more natural but lets you fit more in your bed with better visual flow.
The Secret to Keeping It Gorgeous
Most color beds fade because of what doesn’t happen after planting.
- Fertilize again a few weeks later to give plants a mid-season boost.
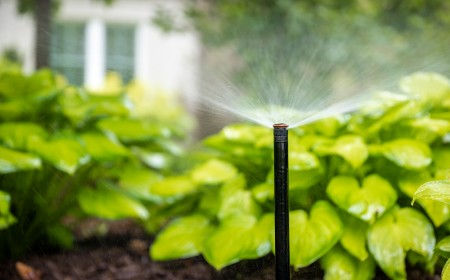
- Water consistently, especially during Atlanta's hot, humid summers. Even drought-tolerant varieties need help settling in.
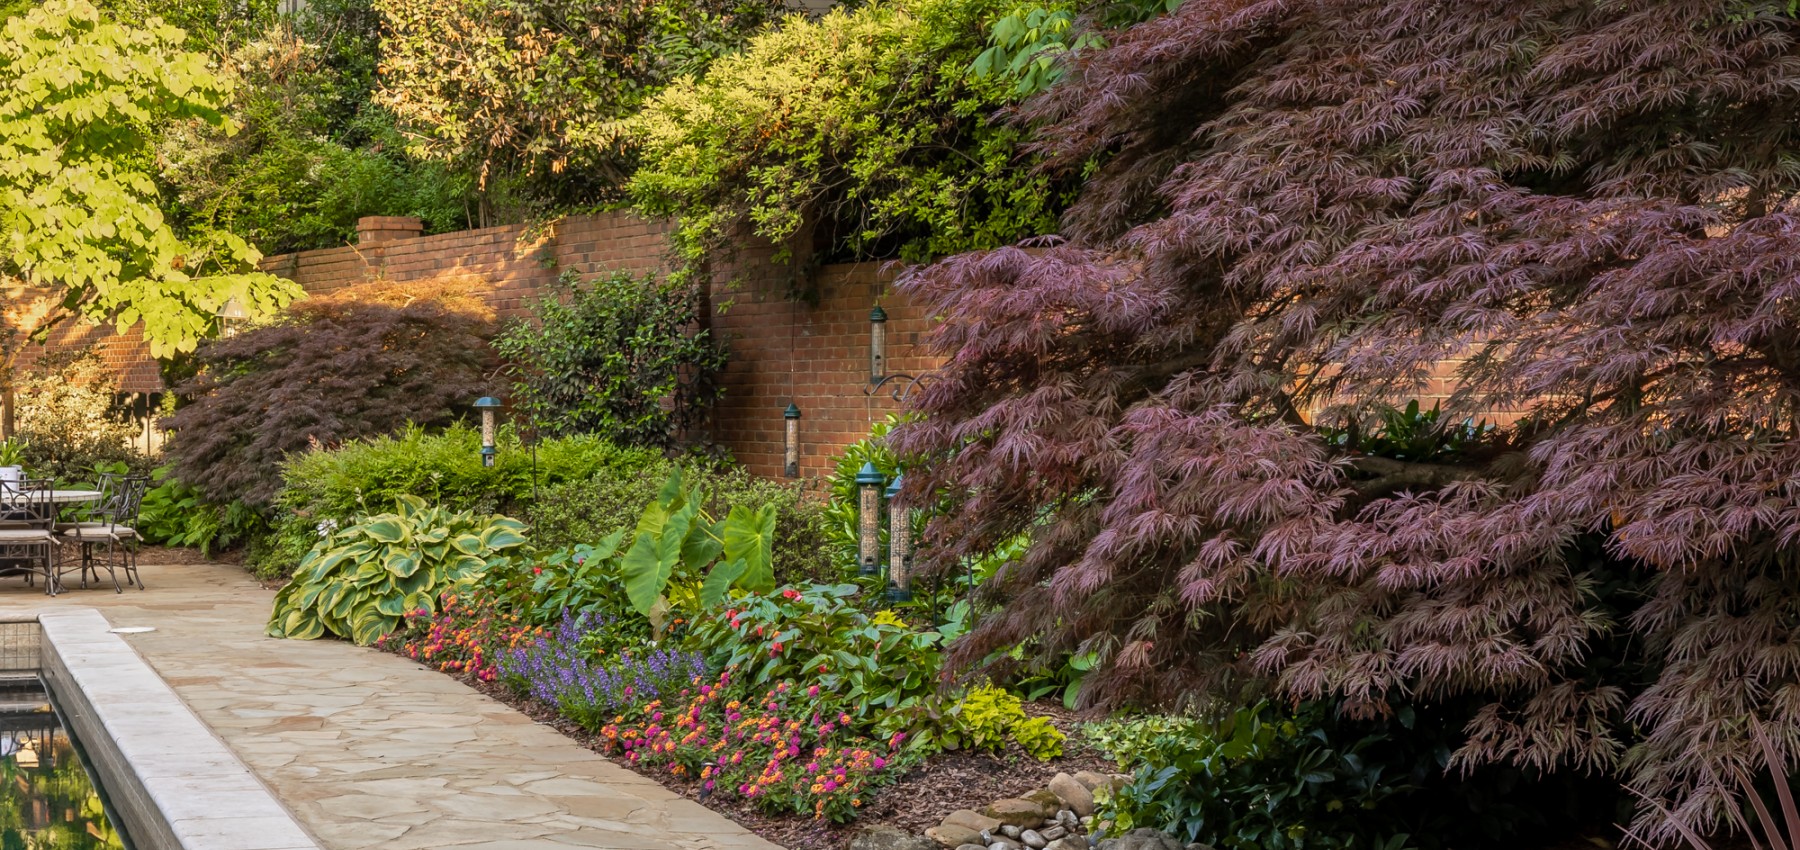
At Plants Creative, we offer seasonal color installations as a personalized service for our existing maintenance clients. If you’re already working with us, talk to your maintenance manager about adding a fresh seasonal color rotation to your next visit.
Not a maintenance client yet? Let’s talk about how our full-service care can keep your landscape looking its best all year long.