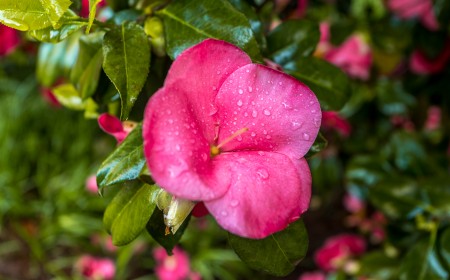
Planting annuals throughout the spring, summer, and fall can keep your landscape fresh and your gardens bursting with exciting colors.
But, you may not know exactly where to start, which plants to choose, or how to plant them best.
Spring 2020 looks a little different than usual here in Georgia, as you might be spending a bit more time at home. Use the tips in this blog post to kickstart your very own DIY flower bed!
How do I plan an annual flower bed or container?
Before you even get to choosing or planting anything, make sure you have a plan in place.
For the beginner gardener, here are some of the basics you should focus on while planning:
- Do a bit of dreaming. — What colors do you want to see in your landscape? What might complement the architecture of your home? Planting your annuals is like creating artwork — there are unlimited opportunities to create unique and original designs. And annuals tend to be less expensive than perennial plants, so the sky really is the limit!
- Choose where you’re planting… and when. — One thing I’ve seen go wrong with beginners is that when designing annual beds or containers, they choose the wrong plant for the wrong light conditions. Find out if what you want to plant likes a little shade or wants to be in the full sun. Once you know where you’re planting, what the light conditions are like there, and what season it’ll be in — plan accordingly!
- Prep the soil. — A crucial part of planting a successful seasonal flower bed is to prep the soil properly so the annuals can flourish. They tend to do best in loose, well-draining soil, so take care to till and amend the soil as necessary. If your soil hasn’t been composted, we recommend adding a slow-release fertilizer. For more tips on soil prep, check out our five rules for planting your spring annuals blog post.
- Wait! — Hold off on planting until the last frost has come and gone. This is typically in March sometime, but it can also be in early April. If it’s not possible for you to plant right away, keep your plants indoors and be sure to water them as needed.
Which plants should I choose?
With a plan in hand, now comes the fun part: choosing your flowers! There are so many options, which can make it feel a little overwhelming, but here are some suggestions to guide you as you make your choices.
- Keep the color palette you’d like in mind. — Whether it’s simple primary colors or a more unique and broad color range, keep your flower choices specific so your space still feels cohesive.
- Pick what’s best for each season. — Be sure to read seed packets or plant tabs to ensure you’re planting what’s best for the season. Annuals are typically divided into “hardy,” “half-hardy” (also called “cool season”), and “tender.” Hardier plants will survive in cooler temperatures, but might start to wilt once hot summer temperatures hit. Choose tender for summer, and hardy for spring and fall. Some of our favorites are below.
- Spring — Duranta, begonias, petunias, lantana, impatiens, and salvia.
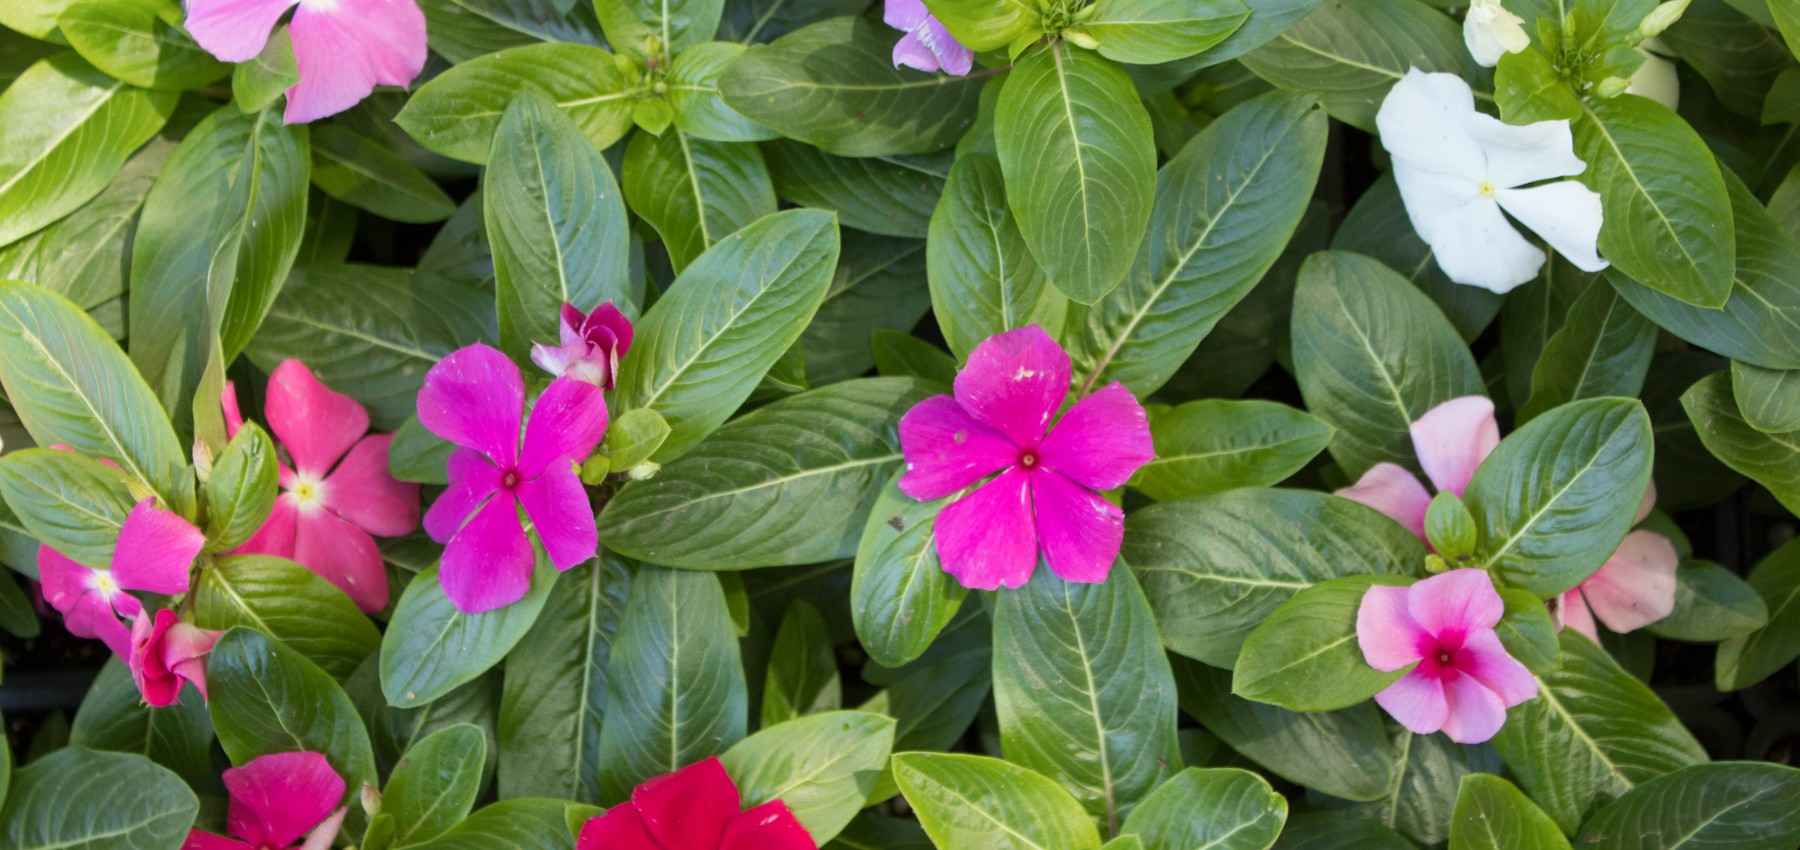
- Summer — Lantanas, impatiens, verbena, vinca, and zinnias.
- Fall — Decorative kale and chard, mustard flowers, calendula, violas (also known as violets), and sweet-smelling pansies. Some of these will bloom over the winter and continue to bloom into the spring.
- Mix annuals with perennials. — While perennials are longer-lasting, annuals are longer blooming. Having a mix of both in your garden will really bring it to life. Be sure to make annual choices based on the perennial plants in your garden.
There are far too many annuals to list out in a blog, but if you’re really curious, we encourage you to browse this list of recommended annuals from the University of Georgia!
What’s the best way to plant my annuals?
Planting is fairly straightforward, but there’s still more to it than just sticking plants in the ground. Some of our planting best practices include…
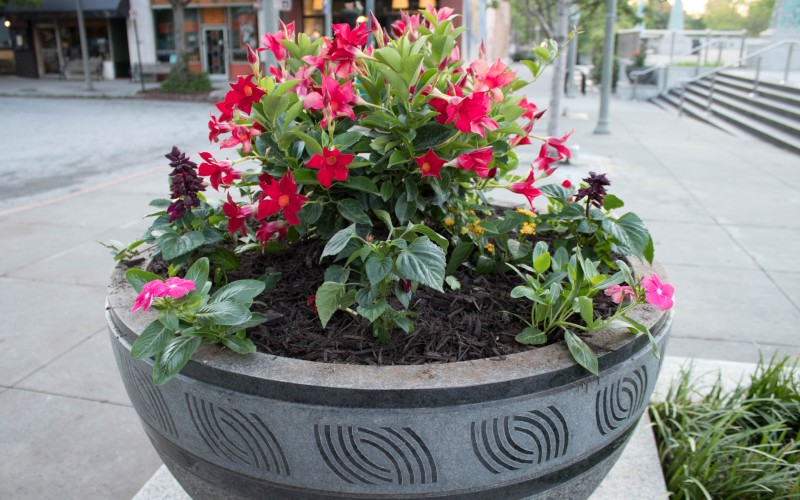
- Lay out your plants before planting. — However you prefer to plant your annuals, we recommend that you lay your plants out before you start planting. This small step can be the difference between a beautiful bed and a chaotic mess. When we plan our annual beds and pots, we follow the "Thriller, filler, spiller" method. The thriller tall plant placed in the center — the focal point of the bed or pot. The filler is used around the thriller to create a nice robust-looking flower bed or pot. The spiller, especially in a pot, is placed lower to the ground so that it can “spill” over the side of the pot or the edge of the bed.
- Don’t plant too deep. — Planting too deep can lead to stem rot later in the season. When planting, dig a hole slightly deeper than the roots, set the plant in place at the same level at which it was growing, and carefully pat down the soil around the roots.
- Plant when it’s a little less sunny. — If possible, it’s best to plant on a cloudy or overcast day or late in the day to reduce shock in your new annuals! If they’re shocked, roots may fail to establish and the plant can die.
- Add some mulch… and water! — Once you’re done planting, cover the soil with a 1 to 2-inch layer of mulch and give everything a good drenching. The mulch is optional, but it will give your garden a more “finished” look while preventing weed growth and conserving soil moisture.
With a little care, your annuals are sure to add a big pop of color to your landscape! Regular watering and weeding should keep them going strong for a while.
If you’d prefer to leave the design, planting, and care of your annuals to the experts, the Plants Creative team is happy to help. Schedule a phone call or video chat, and our team can still care for your landscape. Reach out to find out more!
